How to customize a skin
The following procedure customizes the skin created in How to clone a skin.
|
1
|
In skin manager, on the skin to change, choose Preview, as indicated in Figure 2-16. The appearance of Actuate Information Console pages changes to match the selected skin.
|
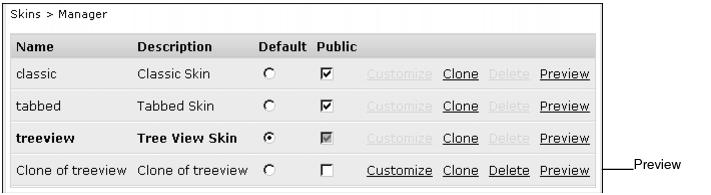
Figure 2-16 Preview functionality for a skin
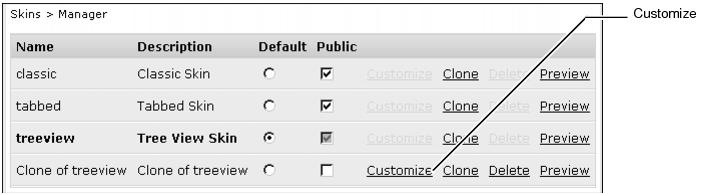
Figure 2-17 Customize functionality for a cloned skin
|
3
|
On Skins—Customize—General, change the skin description to a unique value that conveys meaning to your users, as shown in Figure 2-18.
|
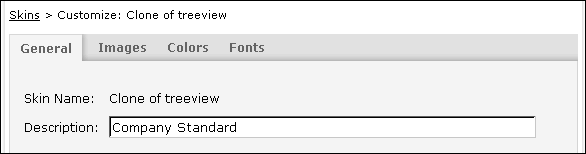
Figure 2-18 General pane for skin customization
|
4
|
Select Images. The Images pane appears, as shown in Figure 2-19. Choose a category name to see the images in that category.
|
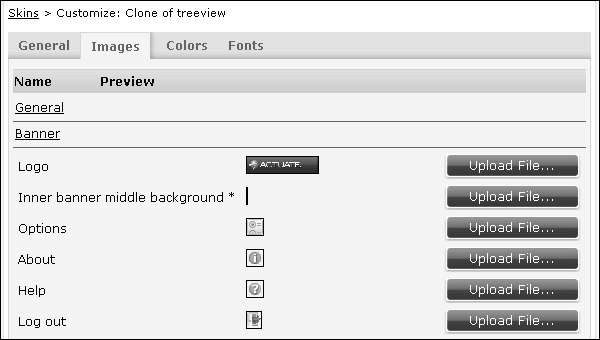
Figure 2-19 Images pane for skin customization
|
5
|
Select Colors. The Colors pane appears, as shown in Figure 2-20. The categories shown depend upon the type of skin. Choose a category name to toggle between showing and hiding the list of colors in that category.
|
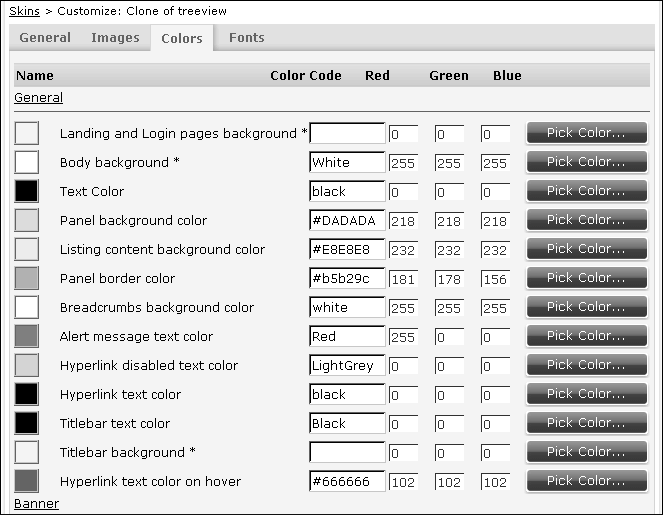
Figure 2-20 Colors pane for skin customization
|
6
|
Select Fonts. The Fonts pane appears, as shown in Figure 2-21. On Name, select General. Font Family appears. Specify one or more font families to use. Actuate Information Console uses the first font in the list found on the machine where Actuate Information Console is deployed.
|
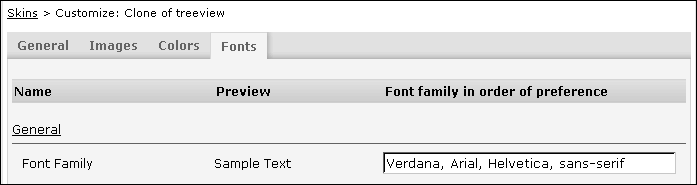
Figure 2-21 Fonts pane for skin customization
|
7
|
To make the new skin available to all users, on the Skins > Manager page, select Public for your new skin.
|
|
8
|
To make the skin the default skin for all users, select Default. Figure 2-22 shows a custom skin, Clone of classic, based on the classic skin.
|
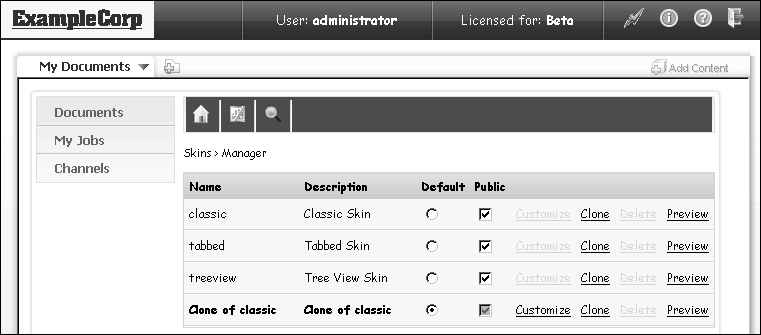
Figure 2-22 An example of a custom skin