Using gadget features
Google gadgets use features to describe special API that enables the gadget to function. The code for these APIs are stored on the server. The gadget designer uses less code because the requested feature is loaded by Information Console. For example, instead of adding JavaScript code to parse data, the parse function can be loaded as a feature.
The Google gadget must contain a <require> element with the feature name, as shown in the following code:
This code requests the pubsub gadget feature enables communication from an Actuate gadget to a Google gadget.
When the feature is available, the gadget loads the API associated with the feature from Information Console. If the requested feature is not available, an error message appears. Externally hosted Google gadgets can require special features not available in Information Console. If a missing feature uses JavaScript, the feature can be included in a customized Google gadget by a software developer integrating the missing JavaScript code into the gadget code.
The following Google gadget features are supported along with the Google gadget Core JavaScript API:
|
n
|
|
n
|
|
n
|
For more information about building Google gadgets with these features, see the Google gadget API reference at the following URL:
Using the flash feature
Gadget designers embed Flash movies in Google gadgets using the flash feature. The following code shows the flash feature being used in a Google gadget.
Optionally, gadget designers can use the object tag to embed the Adobe Flash content in HTML code. For more information about using Adobe Flash, see Displaying Adobe Flash content.
Using the minimessage feature
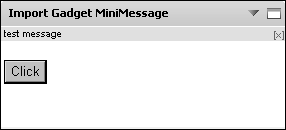
Gadget designers can display a temporary message to users using the minimessage feature. The following code shows the minimessage feature being used in a Google gadget.
Figure 8-6 shows the minimessage feature in a gadget.
Using the pubsub feature
Gadget designers link Google gadgets to Actuate gadgets using the pubsub feature. Google gadgets can also use the pubsub feature to link to other Google gadgets. For more information about linking gadgets, see Linking Google gadgets later in this section.
Using the tabs feature
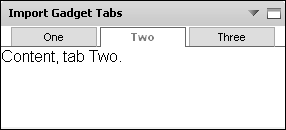
Gadget designers can add a tabbed interface to their gadget using the tabs feature. The following code shows the tabs feature being used in a Google gadget.
Figure 8-7 shows the tabs feature in a gadget.


