How to install using the wizard
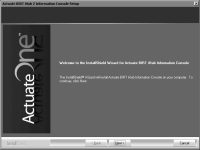
1 Download the Information Console distribution package from an FTP software distribution site. Extract the files. Run the self-extracting executable file, ActuateInformationConsole.exe. The welcome message appears, as shown in
Figure 7‑1. Choose Next.
Figure 7‑1 Viewing the welcome message
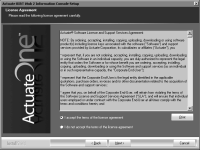
2 Read and accept the license agreement, as shown in
Figure 7‑2. Choose Next.
Figure 7‑2 Accepting the license agreement
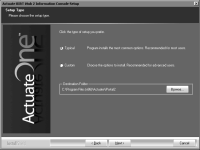
3 In Setup Type, select Typical, as shown in
Figure 7‑3. Choose Next.
Figure 7‑3 Specifying the typical or custom setup type
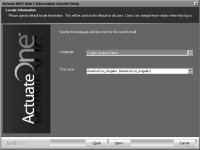
4 In Locale Information, choose Next to accept the default language and time zone, as shown in
Figure 7‑4, or specify these settings for your region.
Figure 7‑4 Specifying locale information
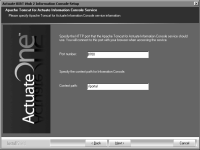
5 In Apache Tomcat for Actuate Information Console Service, accept the default port, 8700, and context path, /iportal, as shown in
Figure 7‑5. Choose Next.
Figure 7‑5 Specifying the port number and context path
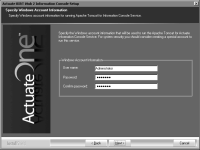
6 In Specify Windows Account Information, type the user name and password for the account used to run the Actuate Apache Tomcat for BIRT iHub 2 Information Console service, as shown in
Figure 7‑6. Choose Next.
Figure 7‑6 Specifying the account running the Information Console service
If prompted to add Log on as a service privilege, choose Yes.
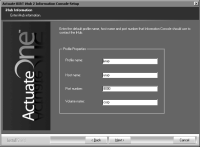
7 In iHub Information, accept the default values for Profile name, Host name, and Port number, as shown in
Figure 7‑7. Alternatively, type a different value for one or more of these properties. In Volume name, type a name for the default Encyclopedia volume. Choose Next.
Figure 7‑7 Specifying values for iHub profile properties
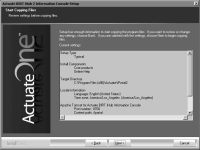
8 In Start Copying Files, review the settings shown in
Figure 7‑8. Choose Next.
Figure 7‑8 Reviewing settings before copying files
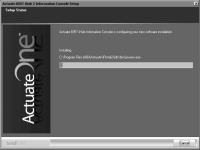
Setup Status displays an indicator showing how the installation is progressing, as shown in
Figure 7‑9.
Figure 7‑9 Setup Status
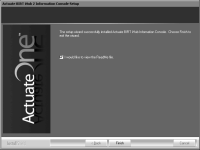
9 Select I would like to view the ReadMe file, as shown in
Figure 7‑10, if you want to review this documentation. Choose Finish to exit the wizard.
Figure 7‑10 Exiting the installation wizard
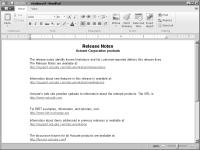
If you chose to view the ReadMe file, the installation program opens the document, as shown in
Figure 7‑11.
Figure 7‑11 The ReadMe file