Section | Option | Value |
Plug-in Project | Project name | org.eclipse.birt.report .engine.emitter.xml |
Use default location | Selected | |
Location | Not available when you select Use default location | |
Project Settings | Create a Java project | Selected |
Source folder | src | |
Output folder | bin | |
Target Platform | Eclipse version | 3.5 or greater |
OSGi framework | Not selected | |
Working Sets | Add project to working sets | Not selected |
Section | Option | Value |
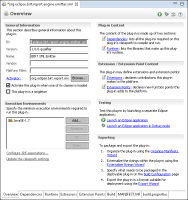
Plug-in Properties | ID | org.eclipse.birt.report .engine.emitter.xml |
Version | 1.0.0.qualifier | |
Name | BIRT XML Emitter | |
Vendor | yourCompany.com or leave blank | |
Execution Environment | JavaSE-1.7 | |
Plug-in Options | Generate an activator, a Java class that controls the plug‑in’s life cycle | Selected |
Activator | org.eclipse.birt.report .engine.emitter.xml .XmlPlugin | |
This plug-in will make contributions to the UI | Not selected | |
Enable API Analysis | Not selected | |
Rich Client Application | Would you like to create a rich client application? | No |