Before performing the switch database operation, you must perform the following tasks:
Locate several folders in the BIRT iHub installation.
Take the BIRT iHub cluster offline.
This section describes these tasks.
Locating folders in the BIRT iHub installation
The tools folder is in the Visualization Platform home folder. The installation root folder contains the path to the Visualization Platform home folder. The following list identifies the locations of these folders in a typical Visualization Platform installation.
The installation root folder
The folder where Visualization Platform 3 was installed. It contains a folder named modules. In a typical Windows installation, the default path of the root
folder is either:
C:\Actuate\BIRTiHubVisualization
or:
C:\Actuate3\BIRTiHubVisualization
The Visualization Platform home folder
The home folder in your existing installation is named iHub. This folder is in the BIRTiHub folder, which the modules folder contains. In a typical Windows
installation, the default path of the home folder is either:
Before performing this operation, you must create a cluster. To create a cluster, choose Create Cluster.
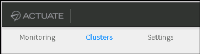
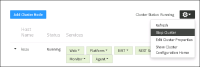
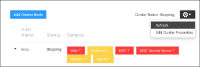
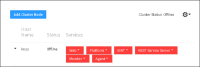
Before switching databases, you must take the BIRT iHub cluster offline by stopping the cluster in System Console. The following section describes this operation.
How to stop the cluster
1 Log in to System Console as the default system administrator.