Users can personalize the following dashboard options in Information Console:
Change the order of a tab page.
Copy a dashboard to enable editing.
Delete a dashboard.
Display all selections on a dashboard.
Rename a dashboard.
A dashboard is divided into one or more pages called tabs. These tab pages enable you to organize the gadgets. For example, one tab page can contain gadgets necessary to make a new customer order and another tab page can contain gadgets displaying a customer’s order history.
How to change the tab order
To change the tab page order, drag a tab title and drop it after an existing dashboard title, as shown in Figure 4‑9. The placement indicator shows possible locations for the new dashboard.
Figure 4‑9 Changing the dashboard order
How to delete a tab page
Delete a tab page from your dashboard when you no longer need it. When you delete a user dashboard from the personal dashboard it is permanently removed unless you previously saved the dashboard. You can subscribe again to shared dashboards that you remove from your personal dashboard.
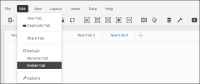
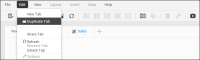
1 On the dashboard menu, choose Edit➛Delete Tab, as shown in Figure 4‑10.
Figure 4‑10 Choosing Delete Tab from the dashboard menu
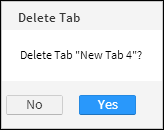
2 In Delete Tab, choose Yes, as shown in Figure 4‑11. The selected tab page is removed.
Figure 4‑11 Deleting a dashboard
The dashboard appears without the deleted tab page.
How to rename a tab page
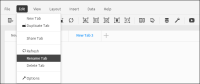
1 On the dashboard menu, choose Edit➛Rename Tab, as shown in Figure 4‑12.
Figure 4‑12 Choosing Rename Tab from the dashboard menu
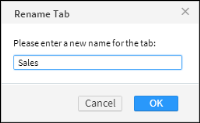
2 In Rename Tab, type a new dashboard name, as shown in Figure 4‑13.
Figure 4‑13 Renaming a dashboard
Choose OK. The tab page displays the new name.
Copying a shared dashboard
A user can copy a shared tab page to enable editing of the tab page content. A copied tab page does not link to the original shared dashboard. Updating the original shared dashboard file does not change a copied tab page.
You can edit a copied tab page in the following ways:
Add or delete gadgets on the dashboard.
Change gadget location, using a column or freeform layout.
Set the auto refresh time for gadgets.
Change or filter data sources for gadgets.
Change chart and measurement gadget types.
Show or hide selected gadget headers, borders, and browser-based tools.
For more information about building and editing a dashboard, see Actuate BIRT Application Developer Guide.
How to copy a dashboard
1 Select the tab page to copy.
2 Select Edit➛Duplicate Tab, as shown in Figure 4‑14.
Figure 4‑14 Copying a tab page
The copied tab page appears at the end of the displayed dashboard names, as shown in Figure 4‑15.
Figure 4‑15 Reviewing a copied tab page
Showing user selections on a dashboard
Data selection gadgets enable users to choose data to display on a dashboard. Choose Current Selections to display or remove all data selections on a dashboard.
How to reset selections on a dashboard
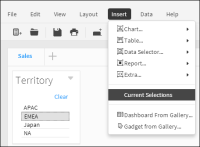
1 Choose Insert➛Current Selections, as shown in Figure 4‑16.
Figure 4‑16 Showing selections in a dashboard menu
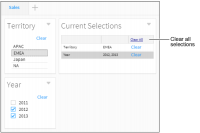
The Current Selections gadget appears on the tab page.
2 In the Current Selections gadget, select Clear All, as shown in Figure 4‑17, to remove all selections from the dashboard.
Figure 4‑17 Clearing all selections on a dashboard
Gadgets on the dashboard update to show data without filtering from user selections.
Printing a dashboard
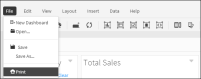
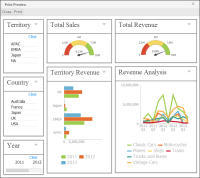
In the dashboard menu, choose File➛Print to print the current dashboard. A print preview is generated displaying the gadgets on the dashboard.
Many gadget types can export a PDF as an alternative to printing the gadget contents. For more information about exporting gadget contents, see Exporting gadget content, later in this section.
Printing a dashboard uses your web browser’s printing capability. See the online help for your web browser for supported printing options.
2 In Print Preview, after reviewing the preview, choose Print, as shown in Figure 4‑19.
Figure 4‑19 Previewing the dashboard for printing
3 In the web browser print window, select an available printer. Then, choose Print.
Saving dashboard changes
Changes to a dashboard file that you have permission to edit are saved automatically at a time interval configured by the volume administrator. You can also choose Save to save your latest changes to a dashboard.